Monday 6 August 2018

Monthly Make Monday - Off the page again......

Well, it's Monday so that can mean only one thing there is another creation to share using our fabulous Monthly Make Stamp set!

I had one last Christmas Idea to share with you, again I decided to stamp off the page, but I hope you agree it turned out fab, I just love this colour combination.


First up I trimmed my piece of card down so it was 1 cm smaller than A5. I gave my POLY PLATE a quick wipe with a baby wipe and inked it up using stormy sky, broken china and faded jeans, gave it a quick spritz and stamped one at either side of my piece of card, making sure to re ink between images.


For the centre tree I used darker shades of blue so broken china, faded jeans and chipped sapphire, I stamped the tree in the centre and higher up the page this time.


Next I coloured some silver sparkle pen onto my glass mat and used it to "ink" up the snow stamp and then stamped it across the top of the card. When it was dry I stamped the sentiment in clear ink and embossed using Vintage Black embossing powder.


To finish the card off I mounted it onto a piece of black card, tied a piece of pale blue ribbon around the base of the card then mounted it all onto an A5 white base card.


I hope you agree another really quick and simple card made using the Fabulous Tree POLY PLATE.

Monday 23 July 2018

Monthly Make Monday - Stamping Off!!!

No I'm not in a paddy!

But, it does feel a bit strange to be sat here talking about Christmas after spending a fabulous day on the beach with the Roolets! We have whisked our little people off to the VERY sunny East coast for some family time and it's positively tropical on this side of those hills!

So I have sneaked away for a moment or two to share with you a really easy card I made using this Months Monthly Make Stamp set.


First up I inked up the  POLY PLATE up using bundled sage, cracked pistachio and peeled paint, spritzed and stamped half the tree on the left hand side.


Then inked it up again using cracked pistachio and peeled paint, spritzed then stamped it about half an inch further off the page.


And one final time I inked up, this time just using peeled paint, spritzed and stamped it again even further off the page. I then gave it a quick blast with the heat gun to dry the ink.

I then inked up just the Christmas part of the large sentiment at the base of a trimmed down A5 piece of white card, I stamped in clear ink, then added Ravens Night Embossing Powder and heat set it.


Across the top of the card I stamped the snow again in clear ink but this time used our Vintage White embossing powder and heat set it. Once it was cool I distressed around the edge of the card using fossilized amber and peeled paint Distress ink.


My tree needed some decoration so I grabbed my Sparkle pens and added some tinsel I was going to add a few baubles too but my Stickles were missing I wonder who "borrowed" then LITTLE LADY!

Once the sparkle pens were dry I mounted my image onto a piece of burgundy card and attached a ribbon around the card. This was then mounted onto an A5 base card. And finally I tied a bow on my ribbon.


Another really quick and simple using this months Monthly Make set.

Now, I must dash there is a spot on the beach and it's calling me!!!!!

Monday 16 July 2018

Monthly Make Monday - 'Tis the Season!

Happy Monday!

This months Monthly Make stamp set is a biggie a whopping A4 in size, which contains the fabulous new Tree POLY PLATE which is a perfect size for A5 cards.

But today, I am steering clear of cards and returning to a love of mine..... Scrapbooking! I haven't scrapped in ages but some thing about this stamp set yelled out to be scrapped, so I dug out a Festive picture and away I went.

What do you think????


The hardest part of the whole page was finding my 12 x 12 card stock! It was in a "safe place"! And selecting my photo, I chose to convert my picture to black and white before printing it out as a 10 x 13 cm.

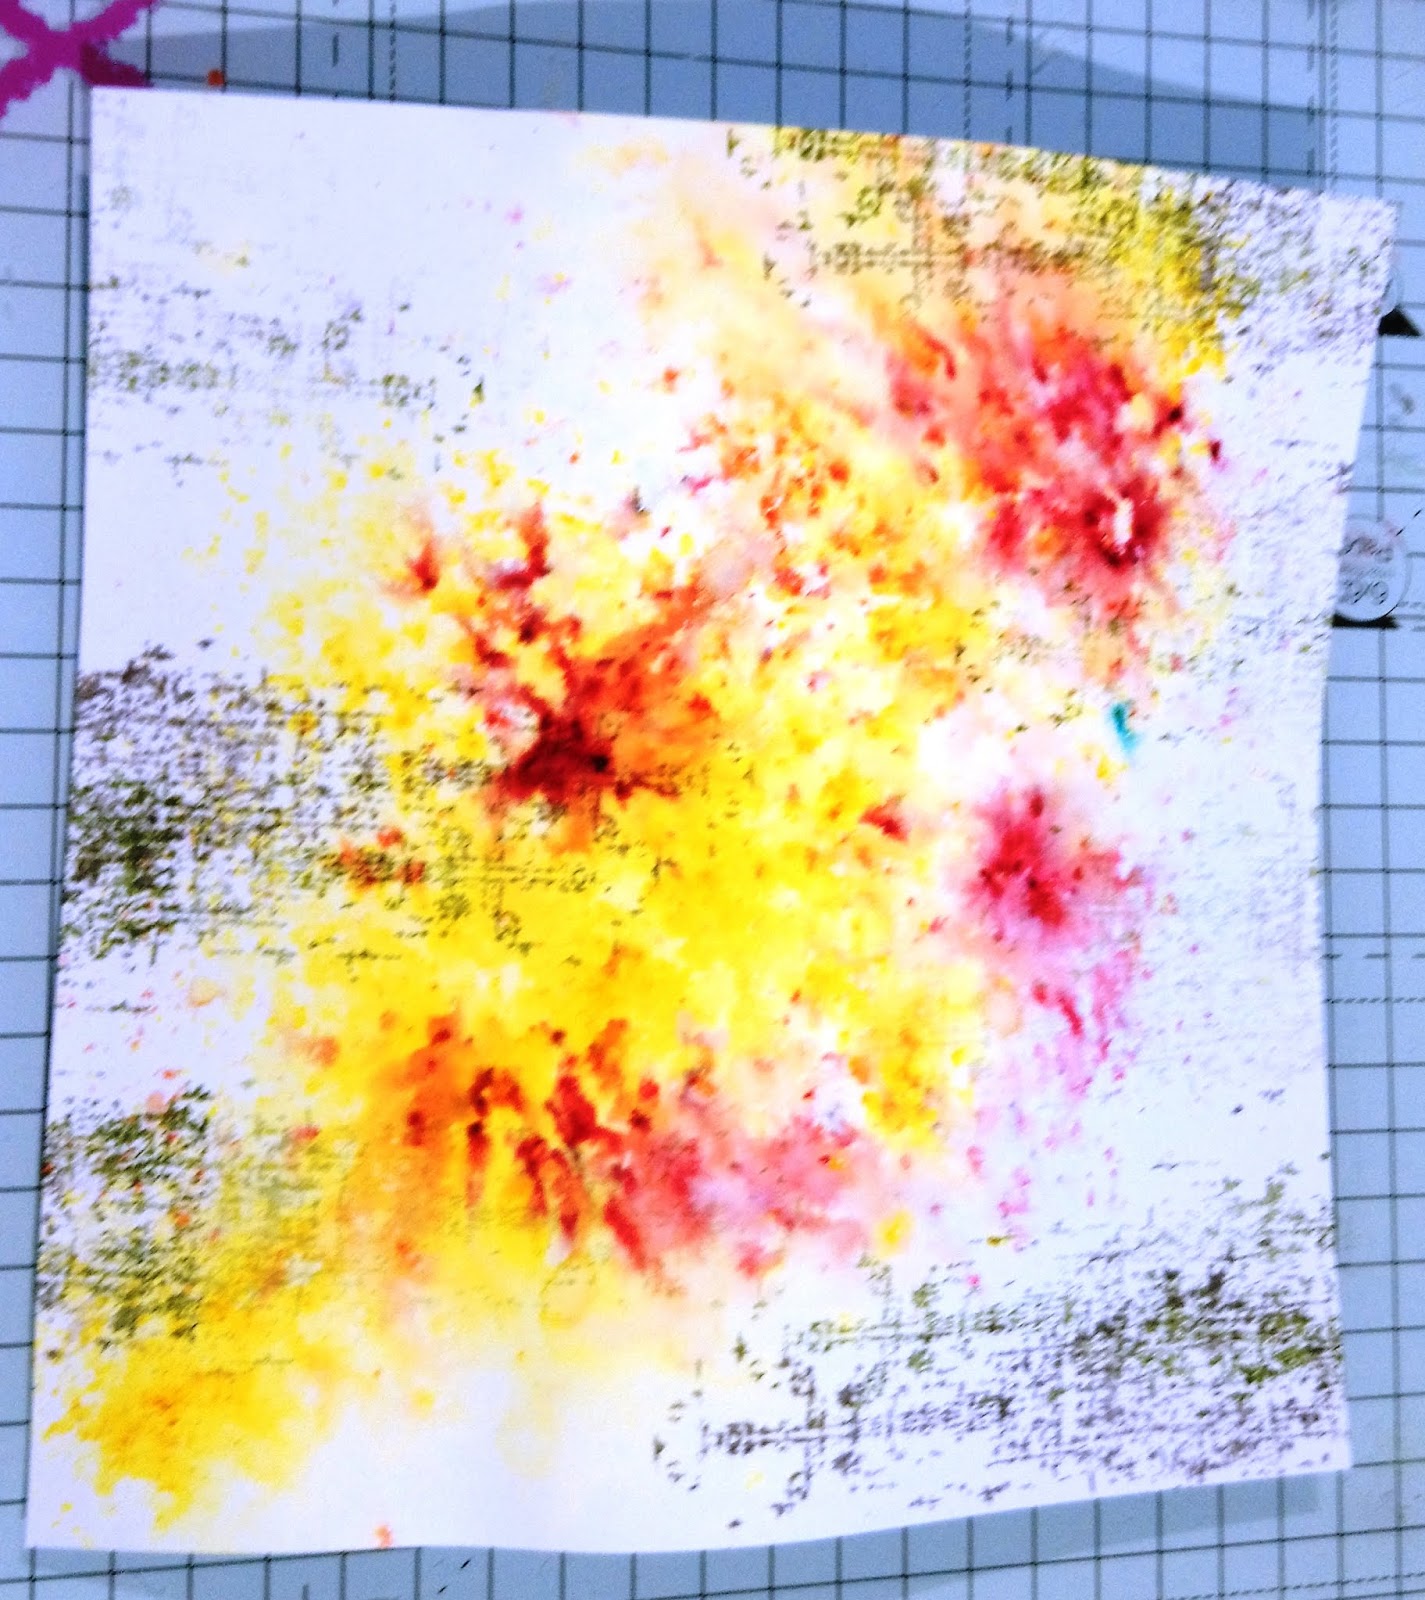
First up I inked up my POLY PLATE using tumbled glass, broken china and stormy sky Distress Inks, then spritzed the POLY PLATE and stamped it three times across the top of my page, inking up before each stamp.


 I popped my photo on to check the positioning of the next tree being careful as the stamped trees were wet and I didn't want to ruin my photo.


When I was sure where I was going to stamp my next tree I inked it up using broken china, blueprint sketch and faded jean, spritzed it and stamped it into place.


Using tumbled glass and broken china Distress Inks I lightly Distressed around the edges of the page.


I then inked up the swoosh in weathered wood sprtized it and stamped it under the dark tree, then without re inking I stamped parts of it under the two trees on the edges.


As the page needed to dry I went off in search of some complementary papers for matting my photo onto. On the darker one I stamped the falling snow across the top, in clear ink and embossed in our Vintage White Embossing Powder. I then repeated this across the top of my page.


Whilst my embossing things were out I stamped the "'Tis the Season" saying in clear ink onto a piece of  Vellum and tore around 3 edges.


I stamped the saying again this time in Stazon Blue Hawaii but only concentrating on the words Season and Magic. I then cut these out!


Once my embossed saying was cool I flipped it over and using the two smallest stars I stamped one in Stazon Blue Hawaii and the other in Cloudy Sky all of the reverse of the saying and left it to dry.


This time using all the stars and weather wood Distress Ink I stamped all over the paler piece of card that I would be using for matting my photo.


So, all my pieces were ready I decided to put my page together! I started by trimming down my matting papers, I cut the paler one 1cm larger than the photo and the darker snow one 2 cm larger than, as I wanted to see the snow! I popped my photo in place then attached my vellum saying, then the photo over the top. I then stuck the words Season and Magic in place.

Some was missing so I stamped the largest star in Cloudy Sky on top of the dark tree! PERFECT!


I really hope you enjoyed taking this step away from cards for a moment I sure did! And now I have found my 12 inch papers I might just have to start scrapping again!

Anyway Julys Monthly Make Set is available on our website now! With the stamps being available indivially from the 15th August! 

Monday 9 July 2018

Monthly Make Monday - Quick Colouring Technique

It's Monday again, boy do Monday's come around so fast these days!

Well, I have been playing with Junes Monthly Make Set and came across this lovely technique that works well with both Distress Ink AND Oxides! Check out those butterflies, if you look really closely you will notice the solid butterfly is different colours - cool hey! 


So how do we do it well it's really simple! Shall we start with our Distress Oxides?

Of course, why not for this one I used twisted citron, peacock feathers and seedless preserve Distress Oxide.  I started by covering the whole of the solid butterfly with twisted citron and stamped it onto my card.


Make sure you clean your stamp between each colour otherwise you will contaminate your oxide pads!!!!!!!

Next ink up the centre 2/3 of the stamp using peacock feathers, stamp this over the top of the twisted citron one. A stamping platform will help line this up perfectly but it is just as effective lining it up by eye!


Clean your stamp!!!

Then ink up the centre 1/3 using seedless preserve and stamp that over the top.


Make sure your butterfly is completely dry and ink up the outline butterfly using a permanent ink (I used Archival). And stamp this over the top!


Fab hey!

Now for the Distress inks

Ink up the whole of your stamp using twisted citron, then the centre 2/3's using peacock feathers and finally the centre 1/3 in seedless preserve. 


Spritz with water and stamp onto your card.


Leave to dry and then over stamp the outline in a permanent ink - notice how my outline isn't solid, well that's because I concentrated inking up the centre of my stamp and not the outside sides, i.e. I pressed the ink pad really hard in the centre but not at the edge.


Really simple hey!

To finish off my cards I used the same ink colours to distress the background, stamp a few of the mini butterflies and the Distressed panel. Then I stamped the saying in Permanent ink. Normally I would have created my background first but as I wanted to share these fab colouring techniques I started with them!


Anyway Junes Monthly Make Set is available on our website now! With the stamps available individually from the 15th July 2018

AND I must dash as we have a very special bumper Christmas edition out this week too!!!


Monday 2 July 2018

Monthly Make Monday - Born to fly!!!

Hello! 

it's Monday again and I am back with another fabulous Monthly Make Monday using the Junes Monthly Make Stamp Set before our Bumper Christmas Monthly Make set is launched on the 5th July!!!!! So exciting! 

But before July turn's all festive let me play once again with Junes Monthly Make Stamp set. This week i have used the outline stamps to create this fabulous card (or canvas!).


To make this one I started with a piece of 7.5 inch square card and spritzed it with water and then sprinkled some Brushos (Lemon, Camboge and Crimson) over it, from one corner to the other and spritzed it until I was happy with the effect. (Leave it to dry or help it along with a heat gun!).

When it was dry I stamped the Distressed Panel from the edge to the middle down both sides using first and 2nd generation images. I did this is pumice stone and peeled paint Distress Ink, and left it to dry.


Onto another piece of card create a background using Brushos (Lemon, Turquoise and Purple) and leave it to dry. When it is dry stamp 1 large detailed butterfly and 5 of each of the smaller ones in clear in and emboss using our Ravens Night Embossing Powder,


Cut these out leaving a small border around each image, then shape using your fingers.

Lay them out onto the background to make sure they are contrasting enough.


Place the Bulb - Born to fly stamp in the centre of the background. Remove all the butterflies and stamp the saying in clear ink and emboss in our Antique Black Embossing Powder.

Matt the background onto a 7.75 inch square piece of black card then onto a 8 inch square base card.

Position and attach the butterflies using 3d glue.


Beautiful hey and really easy to do!!!

Junes Monthly Make Set is available on our website now! With the stamps available individually from the 15th July 2018


Monday 25 June 2018

Monthly Make Monday - Simply Solid

I know, I know its been a while since we had a Monthly Make Monday, but I had a new set of Brushos from Colourcraft to try out and a fabulous Monthly Make Stamp Set wanting to play so who was I to argue!!!

So, for those of you who haven't seen Junes Monthly Make Set is a fabulous Butterfly stamp set containing 6 stamps in total, but for this one I am just using 3 of them...


To make this lovely simple card I started with a trimmed down A5 piece of super shiny paper and gave it a quick spritz with water.

Next I sprinkle over a mixture of Lemon, Gamboge and Turquoise Brushos and spritzed again.


I carried on doing this until I was happy with my background and then left it to dry.

Next I stamped the Distressed Panel stamp in pumice stone Distress Ink across the gap I had at the bottom of the piece of card and then towards the top. And left it to dry again (I used a heat gun to speed things along!).


To finish of my stamping I stamped Bulb - Born to fly in clear ink in the centre at the bottom of the card over the stamped Distressed Panel and embossed it using our Raven's Flight Embossing Powder.

Then in the space left at the top of the card I stamped the solid butterfly and again embossed it using Raven's Night Embossing Powder.

I then cut a piece of black card to mount my stamped image onto and then mounted that onto a blank A5 base card.

And that's it really simple but I LOVE IT!!!!

Kym x 


Junes Monthly Make Set is available on our website now! With the stamps available individually from the 15th July 2018

Sunday 18 March 2018

Easter Day 4 - Wreath

Well today doesn't feel very Spring like, with a thick blanket of snow everywhere! Mr Roo and the Roolets are digging a path to the Stamp machines so Mr Roo doesn't get snowed in there! Well Mr Roo is, the Roolets are making snow castles and standing shouting at the fish pond asking if the fish are cold - I'll give you a clue IT'S FROZEN!!!!!! 

Anyway how about another lovely SPRING card, just perfect for Easter!


First up trim your kraft card to measure 5.75 inch square. And in clear ink Stamp the spikey vine from the Funky Vine - Autumn stamp set, then cover with Antique White Embossing powder and heat set.


Stamp the spikey vine again onto another piece of Kraft card as before. Colour all the vines in using pencil crayons.


Cut out the two extra spikey vines leaving a small border.


Onto a piece of Vellum stamp the cross in clear ink and embossing using copper embosing powder. cut this out leave a small border.

On the reverse add some colour and shape.


Mount the stamps  5.75 inch square of Kraft onto a slighty large piece of White card, then mount onto a 6 inch square base card.

Attach the cut out vines to cover the gaps.

Around the cross drape some white ribbon and attach to the card.