Monday 24 December 2012

Kiddies cards!

I love making kiddies Christmas cards! I really go to town on them and this year was no exception.


I made three of the Santas in total!


Little Lady has a Squirrel obsession at the moment, so it only seemed right she had a squirrel card!

I think this one has to be my favourite card it turned out lovely!

All the toppers are from my ScrapChick. and the text is from Dimension Stamps.

Sunday 23 December 2012

More presents

Here's a couple of necklaces I whipped up.


I love the colours in this one it reminds me of summer! Good job as it's for my mother-in law who lives in Cyprus!


This next one is for my Sister-in-law, I think I am going to have to make another one of these for me!

Thursday 20 December 2012

Tree Skirt

It's finished!!!!
 
After many hours of sewing and pinning and, well you get the picture I actually finished it! I am so pleased with it!


Five minutes after this photo was taken, it was put under the tree. Or as Little Lady said "we put the trees feet to bed" and the cat curled up and fell asleep!
 
How's that for a fancy cat bed!

Wednesday 19 December 2012

Dimension Stamps: Flower Powered

This lovely door hanger was made using the new Flower Powered Stamped set from Dimension Stamps (stamp ref: 2400075a).


It is so quick to make, it even surprised me!

For this door hanging I used the following stamp sets from Dimension Stamps:
  • Flower Powered (stamp ref: 2400075a)
  • Sew Creative (stamp ref: 2400073a)
  • Plain Alphabet (stamp ref: 1801012A)
  • Plain Alphabet Lowercase (stamp ref: 1801014A)
I started by cutting a piece of Kraft card to fit a 5 x 7 inch piece of Grungeboard (I used Grungeboard as it is more flexible than chipboard). Then I stamped around the edge using the double stitch (Sew Creative) and distressed it lightly, and stuck it to the Grungeboard.
Then onto a white piece of card I stamped the flowers and swirls (from Flower Powered) in the bottom corner and the butterfly (also from Flower Powered) in the opposite corner. Next I coloured it in using distress inks. Once I was happy with it I stamped around the edge using the double stitch (Sew Creative) and distressed it lightly. This was then attached to the Kraft card.
Next I added two blue eyelets and some ribbon.
Onto the left over pieces of white card I stamped "Clare" using the alphabet stamp sets, then I over stamped them with the flower and swirls stamp. These were then coloured and cut out.
To finish it off I attached "Clare" and added glossy accents.

Monday 17 December 2012

Dimension Stamps: Flower Powered

This bag charm was made using the Flower Powered stamp set from Dimension Stamps (stamp ref: 2400075a).

It was really easy to make all I did was stamp the butterfly onto a peice of chipboard and cut it out making sure I left enough room to attach a eyelet.

Next I tore strips from an old book and distressed them. These were then stuck onto the chipboard (do one side at a time and make sure you cut it out after each side!) I then re stamped the butterfly, coloured it in and distressed around the edges.

I then made a hole for the eyelet and coated the whole thing in glaze. Once it was dry I added a eyelet and large jump ring.

To finish it off I used a large clasp, some chain, beads and a couple of embelishments.

I am really pleased with how it turned out, it will make brighten up any bag!


Sunday 16 December 2012

Christmas Card

Merry Christmas!
Well it's about time I got on with my Christmas cards, this is one of  uummmmm I  have lost count how many I made!


I used A Festive Night by Lantern Light (stamp ref: 2400068a) and Word Perfect at Christmas Time (stamp ref: 1803063a) from Dimension Stamps.
So simple to make but I love how they turned out!

Saturday 15 December 2012

Dimension Stamps: Flowered Powered

Flower Powered (stamp ref: 2400075a) is a new stamp set from Dimension Stamps. I had great fun playing with these stamps!


This card is so simple to make, but took forever to dry!
All I did was cut a piece of white card and stamped the "love me, loves me not" stamp from the set along the bottom and embossed it with copper embossing powder, then in the top right corner stamped "Flower Power" and embossed with copper embossing powder. Around the remaining edges I stamped the straight stitch (from Sew Creative stamp ref: 2400073a). I then distressed around the edges and added colour to the flowers.
Next I stamped the bike onto acetate and cut around it leaving a long tab to connect it to the card. I then attached the tab to the stamped card and matted it onto Copper mirricard and added copper brads to the corners.
Using a plain white A5 card I distressed it and attached the stamped image and acetate.
Finally on the back of the acetate I added stickles and left it to dry, mine took over night!


Friday 14 December 2012

Dimension Stamps: Flower Powered

I can't take all the credit for this card as my little lady inspired it! She was sat painting (or more accurately covering the kitchen in paint!) and she was having such fun just sploshing the paint around, I thought I wanted to do that, so I did!


For this card I used the following Dimension Stamps sets: Flower Powered (stamp ref: 2400075a),  Sew Creative (stamp ref: 2400073a) and Grand Word Perfect 2 (stamp ref: 1803069a).

I started with the background on this card I used canvas paper and bright coloured alcohol inks (the inks do not work very well on canvas paper as they soak in straight away!). I covered the canvas paper with the alcohol inks then distressed around the edge. Next I played with acrylic paints adding them anywhere and everywhere! I also painted some bubble wrap and pressed that on!  I had great fun!

When the background was dry I stamped on the bike and butterfly. When the ink was dry I then did added some cream paint so I could stamp on the greetings. Next I stamped around the edge with the zig zag stitch (from Sew Creative). Onto the cream paint I stamped Believe, Dream, Hope, Cherish and Magical (from Grand Word Perfect 2) leaving enough space the stamp a flower between the stitching and the words.

The background was then attached to a cream piece of card that had been distressed. I then added brads to the centre of each flower and large Staples to the corners on the other side. This was then attached to an 8 x 8 inch card.

Next I stamped the butterfly onto the back of a small piece of mirricard. Then dry embossed it from the back. Once I was happy with how the embossing looked on the front of the mirricard I added alcohol inks to the butterfly. When the inks were dry I lightly rubbed the Stazon ink over the embossed image. Then I stamped Enjoy (from Grand Word Perfect 2) and the flourish (from Flower Powered) in the corner. And around the edge I stamped the straight stitch (from Sew Creative).

Next I tore a piece of pink paper then stamped the cross stitch (from Sew Creative) around the edge and distressed it. I then added the butterfly to the pink paper and added a ribbon and two hatpins. Finally this was attached to card.

I love how this card turned out and I had such good fun making it!

Thursday 13 December 2012

Dimension Stamps: Francais Couture

Here is another card made with the Francais Couture Stamps set (ref: 2400074a) from Dimension Stamps. 


For this card I also used the following stamp sets from Dimension Stamps:
  • Petal Passion (ref: 2400065a)
  • Sew Creative (ref: 2400073a)
To make this card I stamped the sofa from Francais Couture onto a square piece of white card. I then masked it off and then stamped the manikin (from Sew Creative) behind it. In the body of the manikin I stamped the "words" from Francais Couture. Along the top edge I stamped "Have a Glamorous Birthday" (from Francias Couture) then the round the remaining edges I stamped the straight stitch (from Sew Creative). Next I coloured and distressed it.
I then matted this onto purple card and around the edge stamped the straight stitch again. I then added a brad to the manikin.
Around the edge of an 8x8 inch card I stamped the words again and very lightly distressed it. I then attached the stamped image to this.
Next I stamped two of the large flowers onto purple card and a medium one onto plain white card and filled them with the words stamp, cut them out, distressed them and curved the petals. I attached these to the card using silicon glue. Behind the flower I added some purple flowers and hat pins.
Finally I added some pearl gems to the centre of the flower and to the remaining corners.

Monday 10 December 2012

Dimension Stamps: Francais Couture

Dimension Stamps have a new set of stamps out called Francais Couture (stamp ref: 2400074a). They will be showing it on Friday 14th December on Create and Craft at 11.00am, it should be a great show!


I got the idea for this card whilst watching Strictly, I just love the show and all those fabulous dresses! I think even Craig would have to give this dress a 10!
To make this card I stamped the bodice onto red card, cut it out, added Glossy Accents and left it to dry.
Next I cut a piece of white card, then tore a piece of scrap paper to mask of the centre of it. Around the edge I stamped the "words" stamp from the set. Once it was all covered I removed the mask and distressed it in red and black ink. I then cut a piece of black card to mount it onto and around the edge of that I embossed it using embossing enamel.

I mounted the white card onto the black and added some brads to three of the corners. In the fourth corner I added some black and red ribbon. To the ribbon I added some red feathers, a bottle top and some hat pins.
In the bottle top I had stamped "Dream" from the Grand Word Perfect 2 stamp set (stamp ref: 1803069a). Through the bottle top I attached a jump ring and hung a pair of earrings, it was just going to be an embellishment, but as I was attaching the beads they looked so nice I turned them into earrings, so you get a gift and a card in one!

I then attached the backing to a white card white I had distressed in red ink.
Once the bodice was dry I added black feathers to make the skirt and attached this to the card.

Thursday 6 December 2012

5 minute make....

I kid you not this lovely candle took a maximum of 5 minutes to make! Of course you can't light it but I very rarely light candles these days as my cat goes mad for the flames (yes he is a tad on the weird side!)


I decided to take a break from working on my tree skirt as it is progressing but very slowly. And I wanted to have a play with a new set of stamps that Dimension Stamps will be releasing on Create and Craft of the 14th!

So I stamped onto a white piece of tissue paper, then trimmed the tissue paper down so it just fit around the candle and had a very small boarder on the top and bottom. Next I wrapped the tissue paper around the candle where I wanted it and then wrapped the whole thing in greaseproof paper, then heated it slowly with the heat gun, turning it and moving the heat gun. Being careful not to melt the candle!

When the tissue paper had "sunk" into the candle, I then attached a black ribbon with a red one over the top. Where the two ribbons met I attached a fabric flower, inside it I put a bead cap and then stuck a pin through them all to secure it to the candle. (If you using a small candle be careful your pins don't pop out the other side!).

Next I added the feathers and secured with Silicon glue. Finally I stamped the "Enjoy" in Stazon onto a metal tag and attached that too!

See I told you it was a quick one!

Saturday 1 December 2012

Snug as a bug!

How cute is this cardigan!


I finally got around to sewing the buttons on this fella, I am really please with it, especially, as the wool (if you can call it that!) was an utter nightmare to knit but it traps heat and will keep you roastie toastie!

So as I had nearly a full ball left I decided to make a simple tea bag hat too!


Looks odd I know, but when you put it on it looks like ears! How cute!


Thursday 29 November 2012

Picture Perfect!

Another two presents ticked off! No peaking Mrs (You know who you are!)


I have to admit I loved making these frames I got play with glue and inks, well you can only begin to imagine how messy it all got! But, well worth it in the end!

The film strip at the bottom of the picture is a fabulous ribbon from Tim Holtz that I stamped the year onto using Stazon ink.

I am really pleased with how the embellishment turned out for the top corner. Although I can't imagine it being that easy to dust!

Sunday 25 November 2012

Calendars

Another two Christmas presents made, well, they will be when I have added a photo!

I always try to give handmade presents at Christmas and I chickened out last year when it came to those pesky blokes! This year I decided they were all getting a handmade present and I mean EVERYONE!

So after much head scratching I decided I would make them a calendar. And I am so pleased with how they turned out!


I know I said two presents, well, the third is for me! I bet you can't guess which one!

They are made so that the bottom/calendar part can be taken off at the end of 2013, and the top part will fit in a box frame and become a picture.

I can't believe how quick they were to make.

I used the following stamp sets from Dimension Stamps: It's a date calendar set (ref: 2400070a), Sew Creative (2400073a ) (I use the stitches from this all the time!) and Lowercase Plain Alphabet with letter frames (ref: 2400060a).

To make these I started with the calendar I stamped the grids with slight gap, added the dates, days and under the grid I stamped the month. I trimmed these down so they were 6 inches wide and 8 inches from the bottom I perforated, so that the calendar sets can easily be torn off. 

I cut a piece of Kraft card 7inches wide for the base of the calendar and stamped 2013 in the bottom corner and stitches around the edge. Once I was happy with it, I stuck it all to a sheet of chipboard to add strength and attached the calendar sheets.

For the top part, I cut an 8x8 inch square of Kraft card and created a background for the photo using different patterned papers. Once it was done I stuck that onto chipboard too.

To join the two parts together I cut narrow strips of chipboard and stuck it to the edge of the calendar part then stuck those bits to the back of the top part.

So in 2014 all I have to do is take a craft knife to the narrow strips of chipboard and I will be left with an 8x8 scrapbook page!

Saturday 24 November 2012

Special Delivery

Oooohhhhh look what my lovely Postman just handed me.....


Isn't it gorgous!

It's going to be a tree skirt as our old one got destroyed last year in a cat related incident, so I have had all year to plan and make our new tree skirt!

As you can see I have given myself plenty of time. (Well, atleast I didn't wait till December!)

So all I have to do now is cut loads and loads of squares, applique a couple of snowman, add some wading, back it.....

No pressure then!

Friday 23 November 2012

Happy Birthday

I love how this birthday card turned out I think it is just so girly!


For this card I used the following stamp sets from Dimension Stamps: The Luscious Lily (ref: 2400058a ), Sew Creative (ref: 2400073a) and Grand Word Perfect (ref: 1803161a)

To make this card I cut a piece of white card and stamped the Large Lily into a corner. I then stamped the large and small Lily onto patterned paper.

On the piece of white card I masked off the large Lily and stamped the wire manikin (from Sew Creative) in the background. I then stamped around the edge of the white card with the double stitch stamp. I removed the mask and distressed around the edge in pink ink. I also added some silver and pink to the large Lily. Once I was happy with it I covered it in embossing enamel.

On the two Lillies stamped onto patterned paper I added some embossing powder using an embossing pen.

I matted the white card onto a piece of black card and added some brads in each corner. I then attached the Lillies, adding stickles to the large one and a brad to the smaller one.

Finally I made the sentiment, for this I die cut two shapes, a larger one in black card and the smaller one in white card. Onto the smaller one I stamped "Happy Birthday" and the flourishes from the large Lily around the edge. I then distressed it, covered with embossing enamel and attached it to the card.


Monday 19 November 2012

Dad's Birthday Card

It's my Dad's birthday this month and I wanted a quick and simple card for him.


The main part of this card was made as one using stamps from Dimension stamps and Kaisercrafts.

First onto canvas paper I stamped the postcard and added the "Dad Happy Birthday" and the pocket watches, lightly distressed it then masked it off.

Then for the background I used distress inks and a clock mask, spritzed with silver. And left it to dry.

Onto whote card I stamped a row of tickets and added "Happy Birthday" to ech of them. I then distressed them and cut out the row.

When the main part was dry I matted it onto blue pearl papaer and added the tickets to two corners and added crackle paint.

To finish it off I added a ribbon and emblelishment down the left hand side and attached it to Kraft card.

It was really quick to do, let's hope he likes it!

Saturday 17 November 2012

More Ceramics

I have been busy painting again this time I managed to get a couple of presents painted.

Mr Christmas


I am really pleased with how he turn out and have got some delious smelling Yankie Candle tea lights to go with him!
More Sweetie Bags


I painted four of these, it took six coats of red paint to cover the hat (that's far too many!)

And as always Little Lady painted a few things too...


Apparantly it's not a reindeer but a donkey with spikey ears!


Thursday 15 November 2012

Little people cards

I have really enjoyed making these cards!


This one is for a little boy who is 5 (bet you hadn't guessed!), I found this stamp still in its packet with a £4 sale sticker on it. I remember I got it from Harrogate years ago, but I have never used it, that's just wrong! I am going to have to dig through my stamps more often to find little jewels like this one!


And this one is for a little girl who is 4..... Pretty and pink hey!

Tuesday 13 November 2012

Meet our friends

So, I decided it was about time to pick up those painting sticks again and get on with painting the mountain of ceramics that are gathering dust in the craft room.

Little Ladies Friends

 
I think she means family as she has named each one (Aunt Nic = pink, Mummy = purple, Little lady = yellow/blue, Granny = brown/red, Grandad = Green, Grandpa = Blue and Daddy = black/red). That's why I love painting ceramics as each one has a unique story. Well, especially in our house!
 
I also managed to get these gorgeous bags painted, they are about 5inches high and going to take alot of sweets to fill them!
 
 
Whilst I was glazing these I also did Head! He looks lovely now he is glazed and Little lady has taken quite a shine to him. So much so, he has to live in her home (bedroom)!


Little lady also got to paint a couple of tree decorations.
 
 
I think the snowman head looks like the joker from Batman! And apparently the Penguin is blue because he lives were its cold! I think I am going to add little tags to them with their stories so that we never forget them!

Sunday 11 November 2012

Dimension Stamps: Sew Creative

I decided I wanted to make a necklace using the wire manikin from the Dimension Stamps Sew Creative stamp set (ref: 2400073a).


All I did was stamp the wire manikin onto Shrink Plastic make a hole at the top and shrink it.
I love using Shrink plastic for jewellery as you can swap and change your jewellery was often as you want and it doesn't cost a fortune!

Saturday 10 November 2012

Dimension Stamps: Sew Creative

This would make a lovely wedding or engagement card, I love the effect of the doily skirt!


For this card I used the following stamps from Dimension Stamps: Sew Creative (ref: 2400073a), Grand Word Perfect 2 (ref: 1803069a) and the hat is from Frosty's Fashion Frenzy (ref: 2400067a).

I started by stamping the manikin twice onto white card, to one I added a top hat. I then coloured the body and post on both of them. To the top hat I added Frantage embossing enamel, trying not to add it to the band on the hat.

For the "lady" I got a doily and cut it in half and folded it around the manikin to look like a skirt. Around the edge I distressed it in pink, next I took a clear ink and embossed it using Stardust embossing powder. I love how it gives the doily a translucent/waxy look. I attached it to the manikin. For her top I wrapped some lace around her shoulders and hid all the edges with a paper flower, brad and bead cap.

To make the background I stamped the swirl from Sew Creative in each corner (masking off where they overlapped) then masked them off and stamped the straight stitch all around the edge of the card.  I then stamped "Make a Wish" on the side in the gap between the swirls (making sure there was enough room left for the manikins).

On the swirls I added some colour to them and distressed around the edges. I then matted this on to some copper mirri board and attached it to a cream pearl card.

Finally I used Glossy Accents on the buttons on the swirls and Crackle Paint on the flowers. I then attached the manikins.

I just love how this turned out now, I fancy trying it in other colours too!

Friday 9 November 2012

Dimension Stamps: It's a date!

Dimension Stamps have a fabulous stamp set called It's a Date! (ref: 2400070a) it is meant to be used to make your own calenders, diaries, etc. I used it to create the calender parts in my journal.
 
However! You all know I like to be different and I thought it would be great to use on a scrapbook page to journal on...
 
"I Love Wellie Bobs"


I think it works well on this 12x12 page, I also cheated abit as I don't really like my handwriting, so were I could I used sentiments from Grand Word Perfect 2 (ref: 1803065a).

To date the page I also used a border from Grand Word Perfect and the dates from It's a Date!
 
The other stamps I used were Plain Uppercase Alphabet (ref: 1801012A) Plain Lowercase Alphabet (ref: 1801014A) and Sew Creative (ref: 2400073a).
 
I think works really well.
 
I also used it on this 8x8 page and it works just as well.
 
"Special Friend"

 
For this page I also used my Krystal tips (ref: 2400012A).


Tuesday 6 November 2012

Dimension Stamps: Sew Creative

I had sooooo much fun making this card! It was so quick and easy to make I was so surprised!


For this card I used the following stamps from Dimension Stamps: Sew Creative (ref: 2400073a),Grand Word Perfect 2 (ref: 1803069a) and a project club stamp set called  Wordflake (ref: 2300050A).

I started with the background for this card. I cut a 7.5inch square white card and masked off the bottom section to give the impression of snow on the ground, and masked a narrow border around the edge.

In the "sky" I clear stamped the snowflakes from the Wordflake Project set then clear embossed them. Next I distressed it using different shades of blue ink. Once I was happy with it I spritzed it with silver shimmer mist.

Once this was dry I removed the masks. At the bottom I added Shabby Blue Frantage embossing enamel (trying not to get any in the narrow border.) I then stamped around the edge with the Zig Zag stitch. Down the left hand side I added some coordinating trims/wools and in the top right corner added a large brad. This was then matted onto blue pearl card, which I stamped around the edge using the straight stitch. I then attached this to an 8x8 inch white card and added the stitching again. 

I then stamped the manikin onto white card and added snowflakes as I did for the background and coloured in the post. Next I tied some wool around the neck of the manikin and attached it to the card, once on the card I added Glossy Accents to the post.
Finally I did the sentiment, for this I stamped the banner border from Grand Word Perfect 2 and stamped "Winter Wonderland" into it. this was then distressed. I then added embossing enamel, when it was cool I went over it again with distress ink. And attached it to the card.
See I said this was a quick one!

Sunday 4 November 2012

Dimension Stamps: Grand Word Perfect 2!

Dimension Stamps have just released the Grand word Perfect 2 (ref: 1803065a) and you can buy it with a a fab set of three fancy borders! The are perfect for creating a card all of their own.


For this card I die cut two shapes one larger than the other, on the smaller one I stamped the floral border and added the "Especially for you" sentiment, this was then distressed.
On the larger die cut image I covered the edges in Frantage Embossing Enamel.
For the background I embossed a piece of white card and embossed it with distress ink. To finish it off I added some Frantage Embossing Enamel.
I matted this onto blue paper and added brads to the three corners. Down the left hand side I added some black ribbon and attatched a couple of cream beads.
This was then attached to a black card.  Next I added the two die cuts,.
To finish off I added a few flowers and a butterfly emblishment.


Saturday 3 November 2012

Dimension Stamps: Sew Creative

This is the first card I made using the new stamp set Sew Creative (ref: 2400073a) from Dimension Stamps. 
I love how it turned out and I think it has to be my favourite card!

I know I gave you all a sneaky peep at it last week but here's the details on how I made it.
The only stamps I used in this card were from Sew Creative and Grand Word Perfect 2 (ref: 1803069a).
I started by making the background, for this I used canvas paper and a clock mask, I coloured/inked it up using blues, purples and pale browns. Once I was happy with how it looked I added some Aged Wine Frantage Embossing enamel (I just love this stuff!), I just dropped it onto the canvas and heated it so I got a splatted effected.
Next I used some purple paper, and cut a 2in strip and stamped the double stitch along both edges. I then distressed this and folded it. To this I added a narrow strip of black and a strip of patterned ribbon. I attached this to the canvas paper and matted it onto black card.  Finally I attached this to a purple card.

For the topper I stamped the wire manikin onto a rectangle of white card, then stamped around the edge with the double stitch. I then distressed this in the purple and blue. Once I was happy I covered it in clear embossing enamel.
With the enamel embossing powders the longer you heat them the smother the finish, I tend to try and keep alot of the texture by only heating it till it melts which leaves a bobbly effect. I then add a dark distress ink with fills in the gaps in the enamel giving it that aged look.
Around the waist of the manikin I added some chain and a couple of embellishments, then near the neck I added a paper flower and brad. I then matted the topper onto black card and added brads and bead caps to three corners.
For the sentiment I die cut two shapes one larger than the other, the larger one I added Frantage embossing enamel to. To the other one I stamped the wire look border and stamped "Dream" in the centre, I then covered it in Crackle Paint.
To finish the card I attached the topper to the card at an angle. Then attached the sentiment using 3D glue. Into the top of the sentiment I added two hat pins.
I think all the different textures on this card really work together to give it such a unique look!

Thursday 1 November 2012

Dimension Stamps: Sew Creative

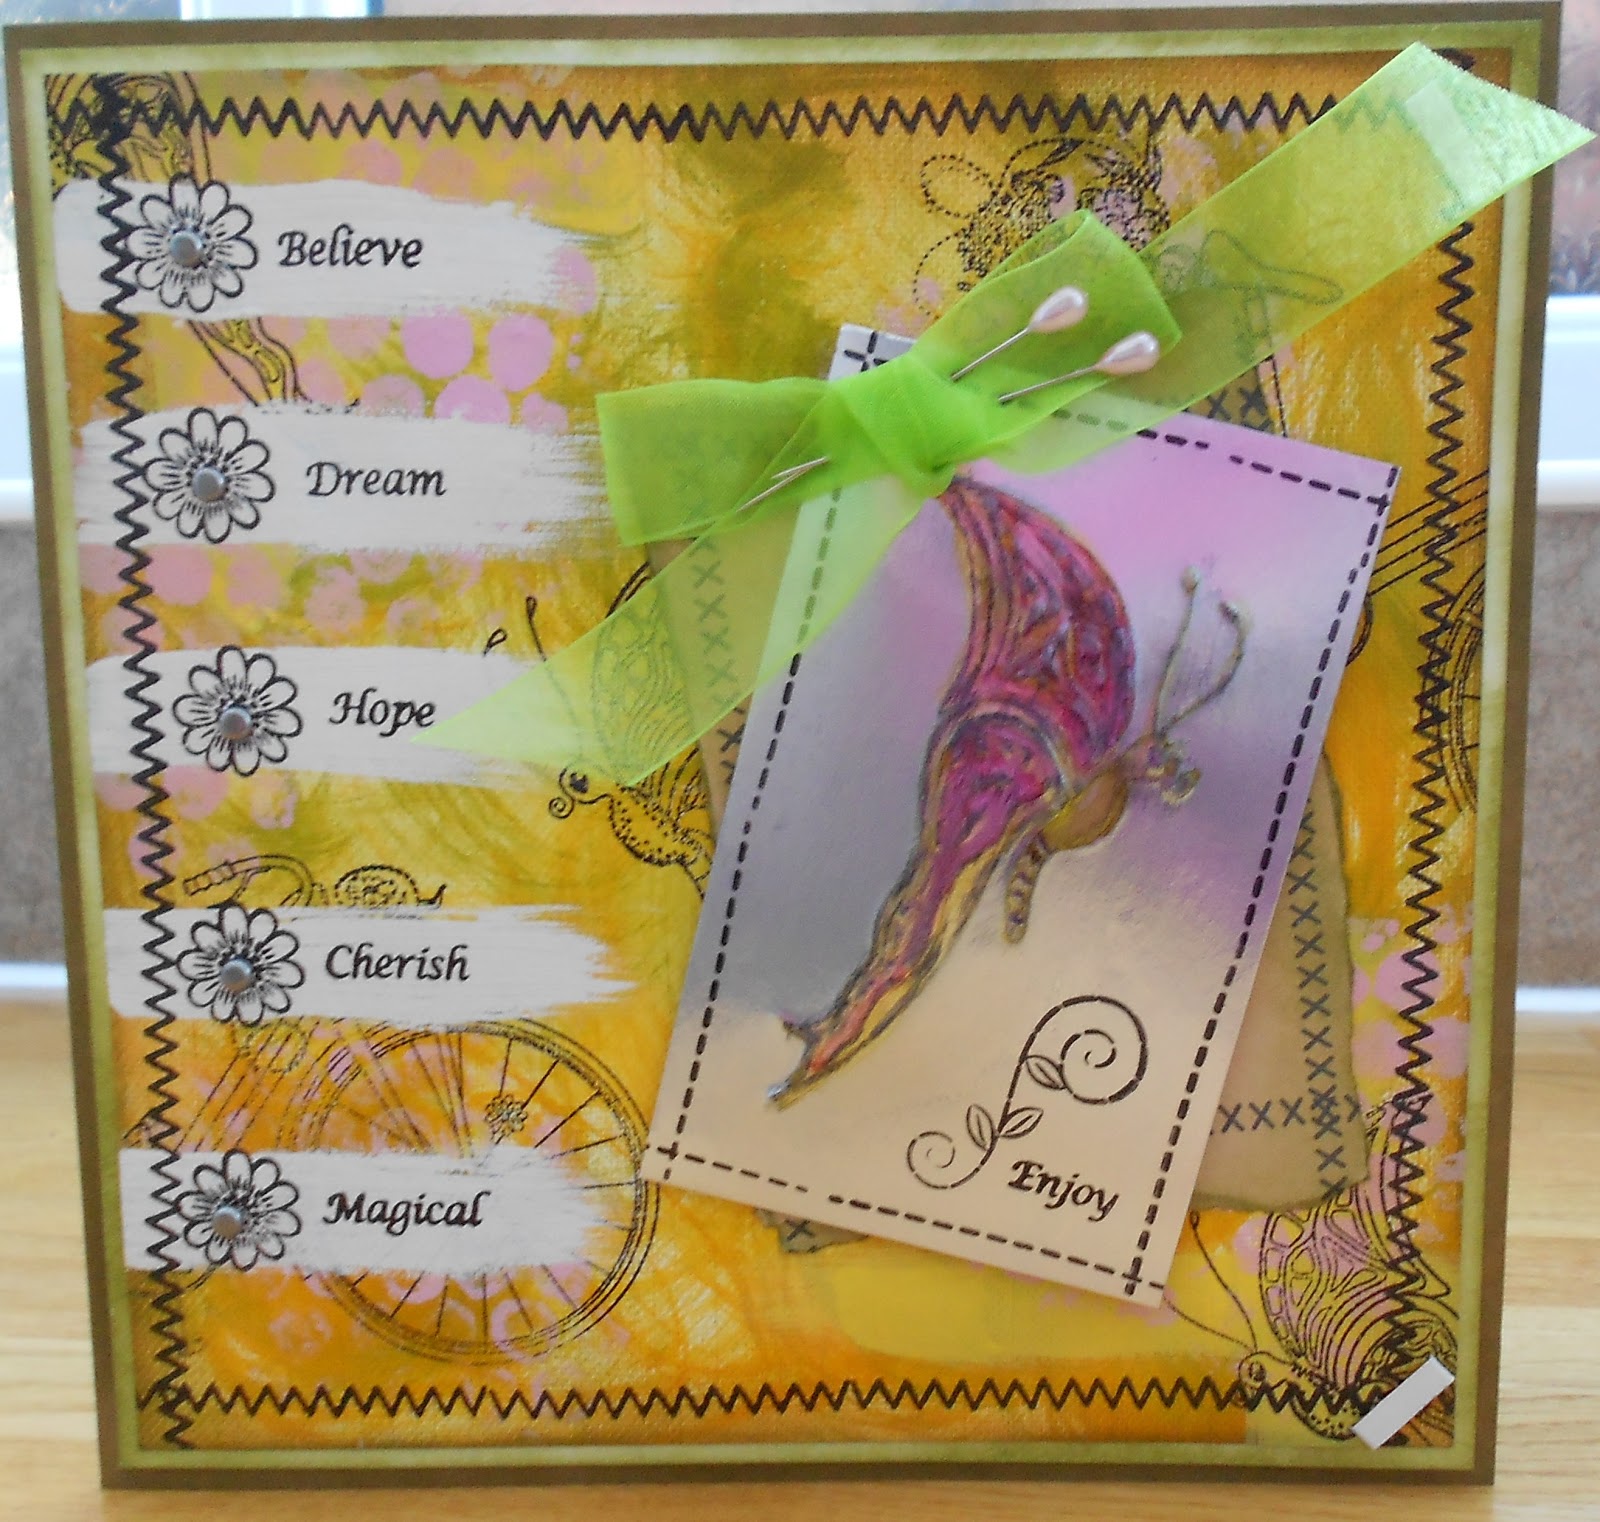
This was the first card I made with the Sew Creative stamp set (ref: 2400073a), I wanted to stamp but nothing more. I am really pleased with the way it turned out!


For this card I cut a piece of white card 7.5 inch square and stamped the manikin in the centre of the card. Next I created a mask so that I could stamp the swirl into the manikins body, I stamped it making sure the flower was on the manikins shoulder, and coloured in the post. 
I then masked of the manikin. Using a torn a piece of scrap paper I masked of different sections to get the effect of pieces of torn fabric at the top and bottom. The top and bottom section were distressed lightly then the cotton reels and thimble were stamped in.

Next I worked on the centre panel, so I masked of the top and bottom then stamped more manikins, masking off each manikin as it was stamped, then I lightly distressed this section to.
Into the manikins (not the centre one!) I stamped the different buttons. Once I was happy with it I removed all the masks, except the one from the centre.
Around the edge of the card I stamped the straight stitch. On the bottom section I stamped "You have me in stitches!" then across from that I stamped the zigzag stitch, I repeated the stitches across the top section.
To the top section I added some Washi tape that looked like a tape measure. I have a new favourite crafty toy!
Down the left hand side I added some ribbon, a flower and a large brad.
Once all this was done I attached the card to an 8 inch square Kraft card, which I had lightly distressed. Around the edge I stamped the cross stitch.
Next I stamped the swirl onto patterned paper and cut out the flower, removing the mask I then attached the flower and added a button to the manikin. I also coloured in the button and added Glossy Accents to it.
I think this card has a really girlie feel, it would be perfect for any young girlie!