We recently ran a couple of quick workshops using Distress Oxides, each card we made, we built on our techniques we had learnt on the last one and I think everyone walked away with 3 stunning cards, but importantly a head full of inspiration, so I thought I would share them on here too...

Fancy hey! But sooo easy to do
First up we are going to look at the tiled card, for this we are going to concentrate on painting and stamping using our Distress Oxides.

Lets begin by cutting a piece of white card slightly larger than your stamp, (I used Funky Flower - Amazing for this one, the saying is from another set - I got them all muddled up lol!). Stamp your image onto the piece of card in Archival Ink.
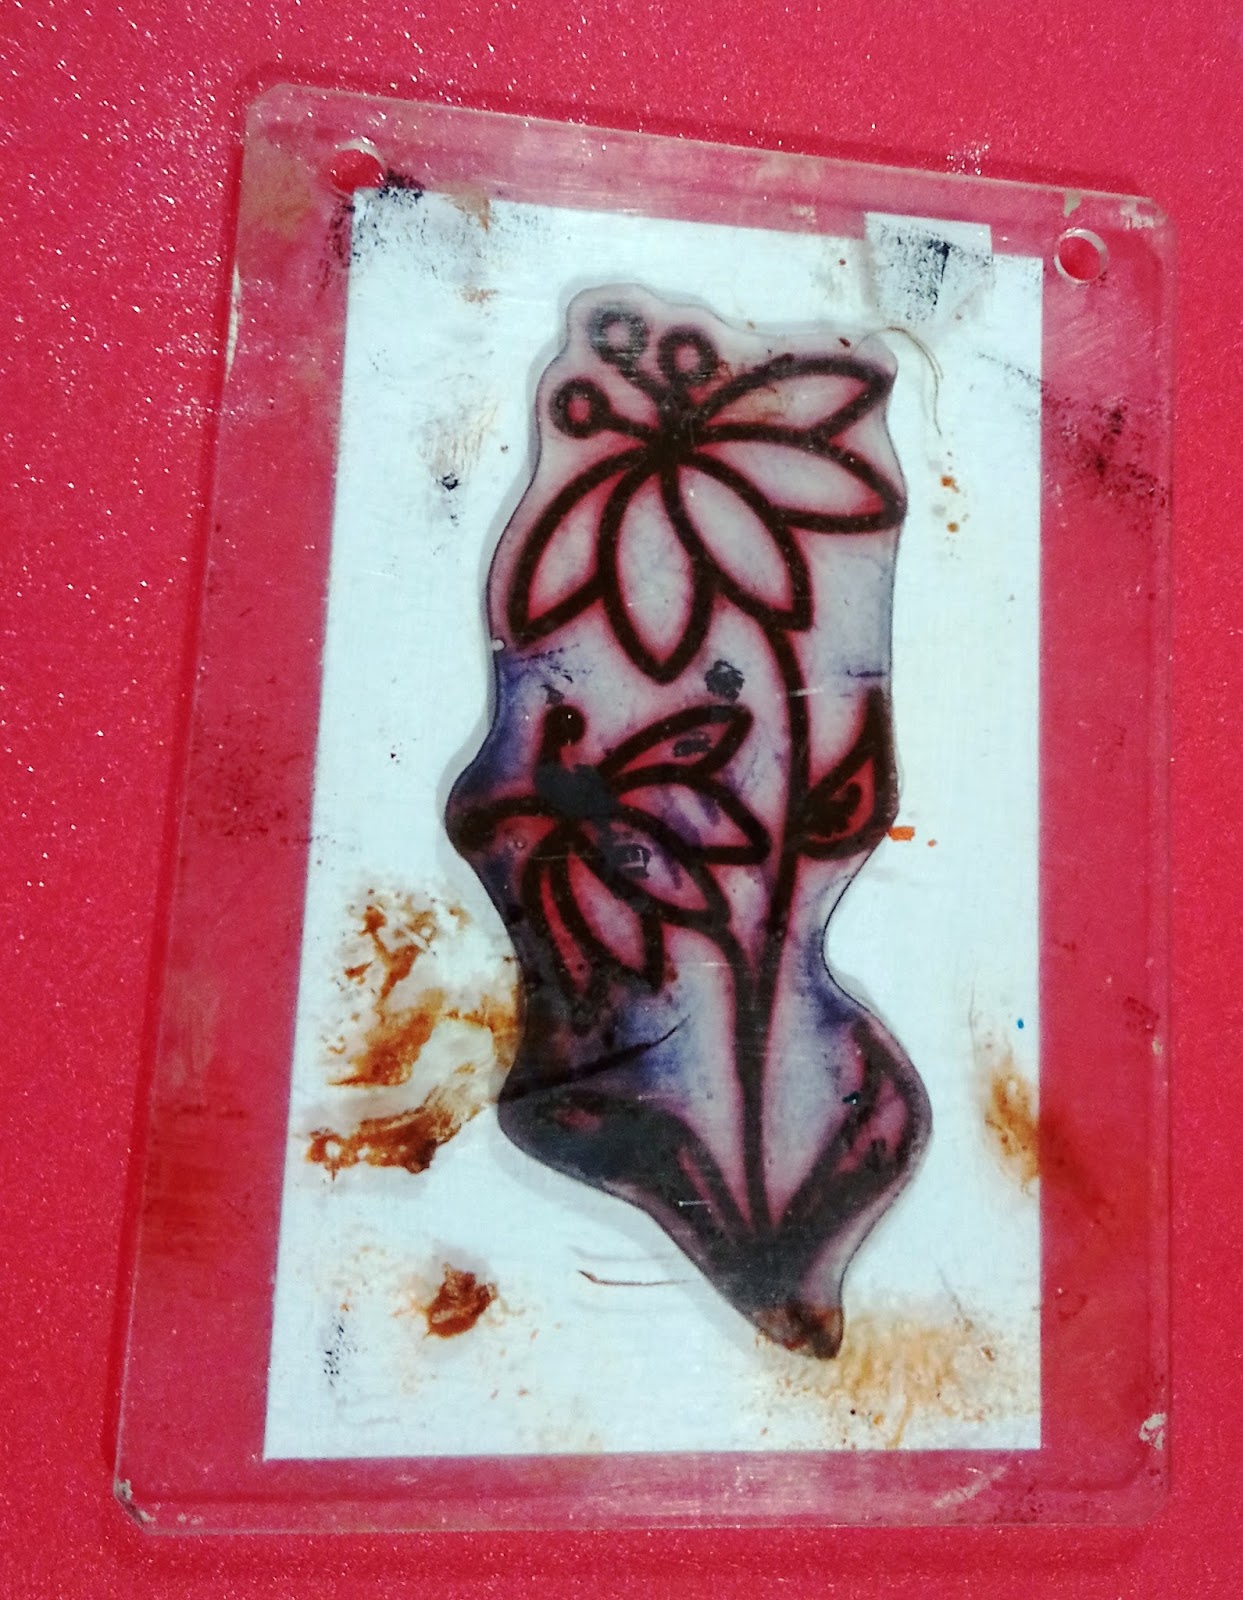
Onto a glossy surface (I used the back of my stamping block) stamp a little bit of the Distress Oxide I used peeled paint, peacock feathers and fossilzed amber. I painted one colour at a time so I didn't contaminated my ink pads. Next to the stamped ink spritzed a little water (you need the water to allow the ink to move whilst you are painting). Then colour in your image.

Make sure the Distress Oxides are dry then cut the image into four pieces (I was going to do six but the maths got the better of me!).

Mount the pieces on to a piece of black card leaving a small border and gap between the pieces. Trim the piece of black card.

Place the tiled image onto a card and layout where you want the sentiment to be. Remove the tiled image and stamp the sentiment I used peacock feathers to tie in with my flower. Make sure your stamp is clean before you ink it up as the Oxide will pick up any ink from the stamp that is not permanent and dried on! Also be sure to clean your stamp well afterwards.
See I said it was really easy and quick! So why not join me on Wednesday for some more Distress Oxide fun!
No comments:
Post a Comment